Owning isopods is a rewarding, educational, and fairly easy undertaking. They require far less attention than the usual domesticated canine or cat and will cost you far less in the long run as well.
But how do you keep these cool crustaceans in a culture with good airflow without allowing them to get out? You can do it in a number of ways, including the most simple method of poking small holes around the container they are in.
Though as your population grows and the need arises for more effective ways to keep oxygen flowing through their enclosure, you may be left scratching your head.
With the help of this informative article, you will be well-prepared for a small colony of critters all the way up to a booming metropolis of clown isopods!

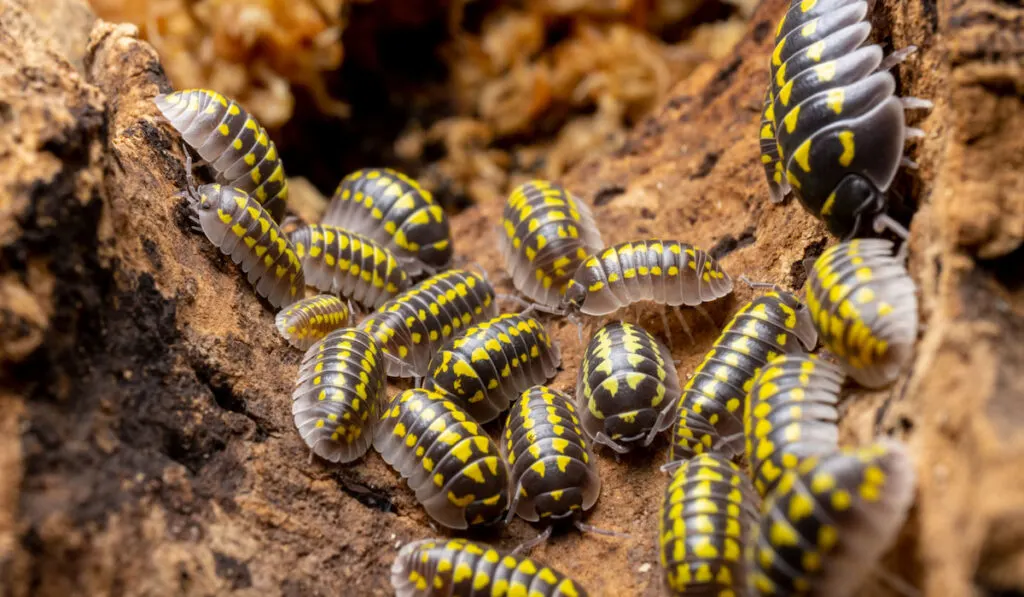
Table of Contents
How to Properly Ventilate a Culture
Depending on what type of container you have and what tools you have at your disposal, this process could be incredibly time-consuming or relatively painless.
While there are several methods for allowing airflow into an enclosure, no one method is universally approved for all types of containers. So to give you the best choice for your own personal colony of isopods, I will be showing as many methods as I can find!
Poking Small Holes
So to start off, you could easily get by simply poking a bunch of holes through your enclosure. Considering this culture will almost always be in plastic (though I will cover glass below), I would recommend using a soldering iron to pierce through the plastic and then place small openings around the perimeter of the container.
Due to the toxic nature of burnt plastic, it is heavily recommended that you perform this outside or in an area with a lot of airflow traffic and ventilation. When heating holes in your enclosure, make sure it is empty of isopods to avoid hurting them. Try not to cut out holes too big as infant isopods will fall or sneak through them.
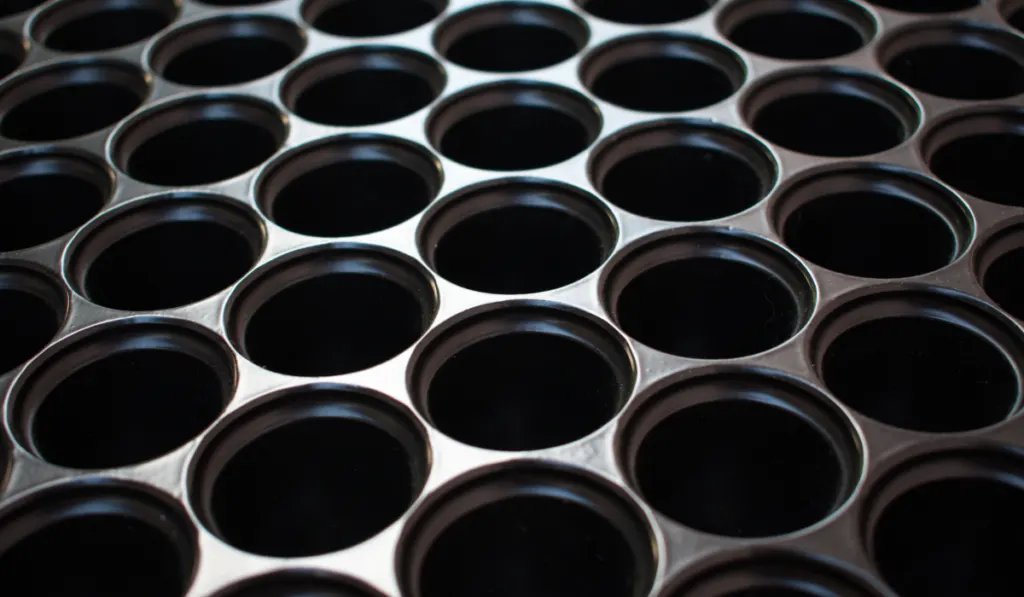
Creating a Large Air Vent
If you find the process of poking holes a bit tedious or you don’t have a soldering iron handy, you can always go with one much larger hole with a screen or vent on it. This process is typically done with a drill with a circular drill bit attachment.
The size most often used is about three inches and if you have a particularly large colony you may want to install two or three holes as opposed to one.
Now that you have an opening installed into your container you will need something to allow air in while keeping nomadic isopods out of your home.
There are marketplaces online that sell rounded vents of varying sizes, which will probably be the easiest installation you will have. The price of these can be more expensive than you may be comfortable with, however.

If you do not want to buy a vent online or need to install ventilation in a hurry, then you have the option of covering the hole with materials you can find around your house. Due to the nibbly nature of your beloved bug buddies, you will want to make sure you use material that they will not be able to eat their way through.
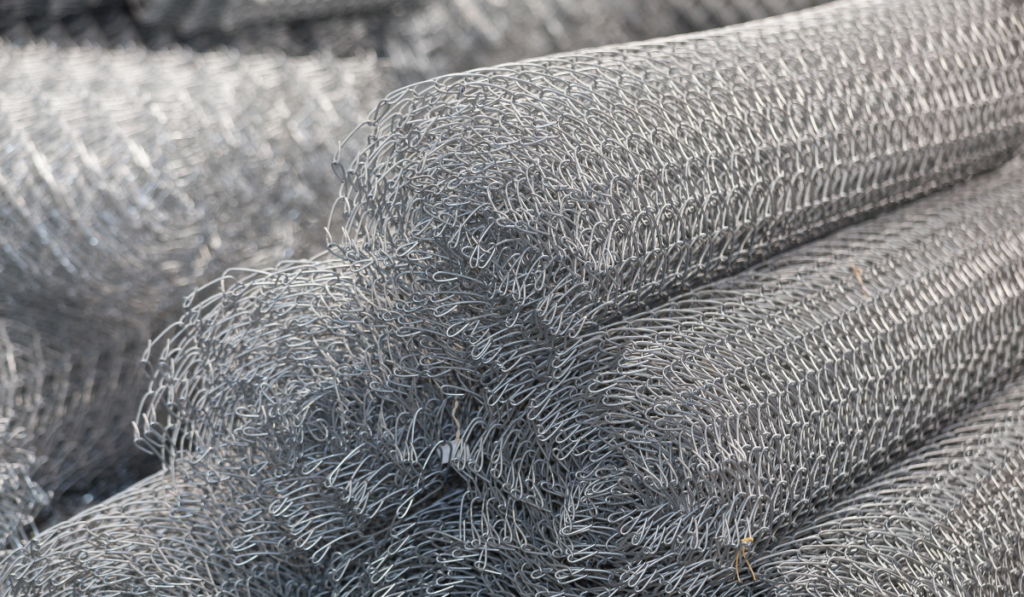
To keep them inside their enclosure, one thing you can use is the mesh of a screen door or window. The material used for screen doors is typically fiberglass or aluminum, which they will not be able to chew through.
You can find replacement mesh online for a very reasonable price and you will get so much you will probably have a comfortable amount for the remainder of your isopod owning lifespan. A box knife should suffice when cutting through the screen mesh.
If you have dwarf isopods and are concerned they may fall through the holes in screen matting then you can use a more dense alternative like weed matting.
Due to the thicker covering, you will still allow quite a bit of air to go through the hole without having to worry about a prison escape happening later down the road. While this material may seem vulnerable to being chewed through, it is far tougher than you might expect and should serve its purpose quite well.
If you have a glass enclosure, you can create a vent by using a plastic lid with a vent installed and placing it atop your glass container. The downsides to this are that you run the risk of allowing carbon dioxide to rest at the bottom of the vivarium, which could eventually kill your isopods.
This poisoning process can be incredibly fast and can wipe out your population overnight with you being none the wiser.

Ventilation Tips
Avoid Mesh Lids
While it may seem fruitful and even convenient to place a mesh lid over your isopod culture as you would with a container for reptiles, you face the dangers of carbon dioxide.
Carbon dioxide rests below oxygen so while a container with cross ventilation will keep the build-up to a minimum, one opening on top will allow the harmful chemical to begin to accumulate until you inadvertently gas all your isopods.
Another less fatal reason is that it will dry out the moisture inside the culture very quickly. This will make it so you have to be much more dedicated to watering your isopods and forgetting can potentially devastate your colony.
Isopods need a certain level of humidity to survive and a mesh lid will quickly suck up all that vital moisture and essentially smother your isopods to death through asphyxiation if you don’t regularly hydrate them.
Leave Room in Your Container
When you begin making cultures for isopods, you might get the idea that giving them more substrate is better than less and spoil them so much that there is little room for air to circulate.
While spoiling your new pet is thoughtful and sweet, it is also potentially dangerous because of the overabundance of leaf litter and sphagnum moss which will stop cross-ventilation. This can also breed carbon dioxide and before long your isopods will be in a lot of trouble.
To avoid this, leave enough empty space for air to travel effectively through your culture without vent obstruction. This can also be avoided by not placing your vents in areas where the substrate will obstruct the air from getting into the container.

When Ventilating, More Is Better Than Less
It would be hard to blame you when you are just getting started in owning isopods for allowing too much air into your culture. This can dry out the inside and make it so you have to water the culture on a much more regular basis.
Too much air is, however, preferable to allowing too little air into the enclosure, which can suffocate the isopods and cultivate more carbon dioxide than your isopods can handle.
When it comes to ventilation, the most important thing is reducing the risk of CO2 poisoning, so always err on the side of too many vents than too little.
If you find that you have created too many, you can simply block up a vent or a few holes and micromanage from there. Most owners would much rather have to mist the container a few more times a week than witness an invertebrate genocide, so when in doubt, air it out.
Conclusion
No one starts off as an expert in anything and there are several facets to being a good isopod owner. As long as you correct mistakes as they happen and remain diligent you should have no problem keeping a healthy and vibrant colony of isopods.
Now that you read this article you know everything you need to keep your culture well-ventilated, sufficiently saturated, and far less complicated!